Note: This is just a quick example of controlling gradient alphas, so there’s not a lot of screen shots. In other words, this tutorial assumes you know LW basics. If you don’t want to read this whole tutorial, I’ve included the object, image and scene file here.
Now, let’s get on with the show.
1. Make a piece of paper in Modeler. For this example, I’m using a sheet of paper 3m by 4m by 10cm which is a pretty thick stack of paper, actually. But this is just an example, and you can figure it out from here :). It is centered X,Y and Z axis.
2. Name the default surface “Paper”. I gave it a dark blue surface to make things more visible. Now, select just the polygon facing the Z- (Z minus) direction, and rename it “PaperFront”. Give it the same surface settings though (The same dark blue).
3. Save the object as paper.lwo
4. Open Layout, and load paper.lwo
5. Add a Null and keep at it’s 0,0,0 position for now. You can rename it PrintHead if you like.
6. Open the Surfaces Panel, and go the the surface “PaperFront”. Click on the Texture Editor for the Color channel (the little T button to the right)
7. Make the first layer an image map, with planar projection in the Z axis. Load an image (mine’s called paper.tga – a 32 bit image, we’ll see later why).
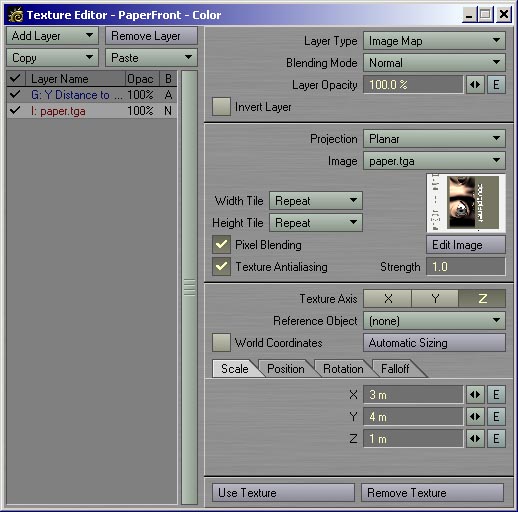
(what the image layer looks like)
8. Click on Automatic size, and it will be placed there all snug as a bug in a rug.(You can do a test render of a frame right now, just to make sure it’s showing up.
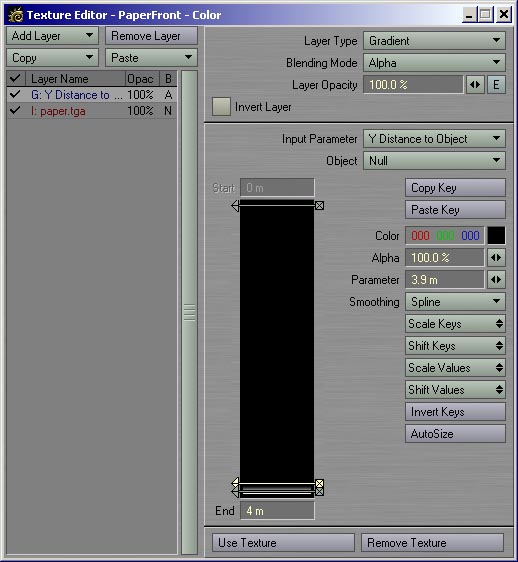
)9. Still in the Texture Editor, add a new Gradient Layer. Make the Blending Mode -> Alpha and the Opacity 100%.
10.. Make the Input Parameter “Y Distance to Object” Select the Null object that you may have called PrintHead.
11. Now to creat the printing effect. On the Gradient Bar, you’ll see a Start (0m) and an End (10m).
a) change the End to (4m).
b) change the Start Color to black.
c) make a new key by clicking on the bar. Change it’s parameter to 3.9m. Make sure it’s colour is black as well.
d) make a new key below the last one.
e) change it’s color to white, and make sure the parameter is 4m (equal to the End value)
12. Click on use texture. Here’s what it looks like…
13. Do a “Save All Objects” and save your scene.
14. Now for testing…
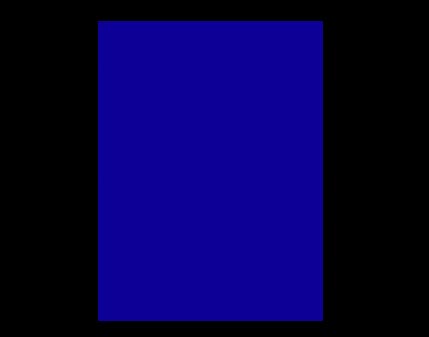
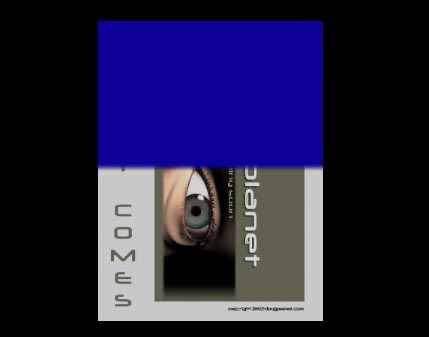
a) With the Null at 0,0,0 hit F9. You’ll see a blue sheet of paper, like the image below. No image at all! That’s because the gradient is less than 4m away from any point (in the Y direction) of the PaperFront surface.
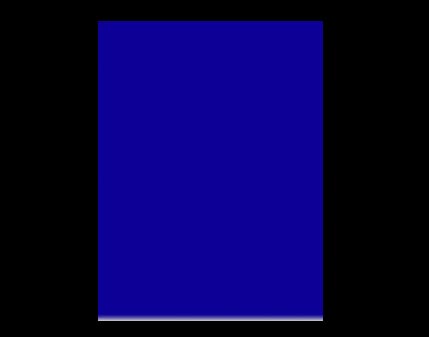
b) Move the null up to EXACTLY 2m on the Y axis and create a key. Do another test render. You’ll see a blue sheet with a thin white strip (the image below). This is the gradient alpha in effect. The slight gradient you see is the distance between 3.9m and 4m, as set up in the gradient layer. To make the transition sharper, you can play with the distance between the two keys, or chang the default spline to Stepped or whatever suits your purposes.
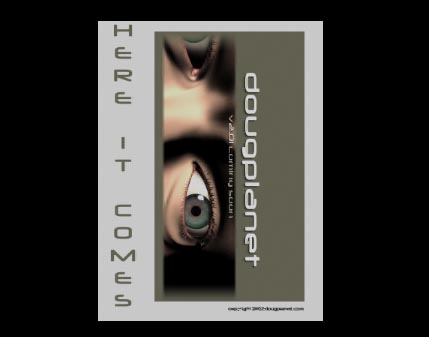
c) Move the null up to EXACTLY 4m on the Y axis and create a key. Do another test render. Now you should see the bottom half of your image, while the top half is still blue. Pretty cool, eh?
d) Move the null up EXACTLY 6m on the Y axis and create a key. Do another test render. You’ll see your image in all it’s glory.
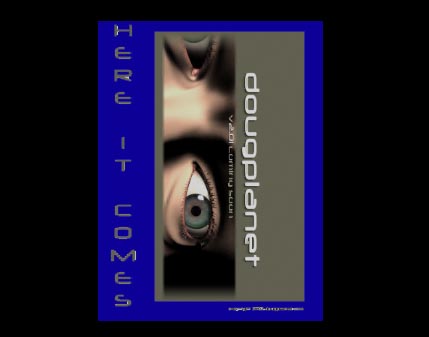
Instead of a plain blue base, you just change it to your paper color, add any bump textures etc and you have your paper. Earlier, I mentioned a 32-bit image. If you have an alpha of your image, you can use that to cut out the background of your image, so that your results would be something like the following.
To keep things neat, you could limit the Null’s motion to the Y axis only, as well as parent the Null to the paper object. Of course, you can change the parameters of the Null gradient to suit your size of paper and all that fun stuff.
Well, that about does it for this little example of gradient tricks. Let me know if you’ve enjoyed this by dropping me a line at doug@dougplanet.com